

Key Takeaways
Why Sheet Pan Cooking Works - and Where It Goes Wrong
Sheet pan dinners have earned their popularity for good reason: a single cooking vessel, minimal active effort, and genuine flavor from oven roasting. But the technique only delivers when a few fundamental principles are respected. Ignore them and you end up with steamed, soggy vegetables and unevenly cooked protein - the kind of result that makes home cooks blame the recipe when the real issue is method.
The core mechanism at work is dry, radiant oven heat. At high temperatures, moisture on the surface of food evaporates rapidly, allowing the Maillard reaction - the browning process responsible for complex, roasted flavor - to take place. The moment a pan is overcrowded, that moisture has nowhere to escape. Instead of roasting, food steams in its own vapor, and browning never happens.
Understanding this helps explain every rule that follows. Sheet pan cooking isn't just about convenience - it's a legitimate roasting technique that rewards attention to heat, spacing, and timing. For cooks interested in foundational cooking techniques, sheet pan roasting is one of the most transferable skills in a home kitchen.
Line Your Pan - But Know the Trade-Off
Parchment paper makes cleanup effortless and prevents sticking, which is why most cooks use it routinely. Aluminum foil works similarly but can cause more sticking with sugary glazes. Note that a bare metal pan will produce slightly more browning on the underside of vegetables - useful context if you're chasing maximum caramelization.
What You'll Need Before You Start
Success with sheet pan cooking starts with the right setup. The equipment requirements are minimal, but choosing correctly makes a noticeable difference in results.
What you will need
Rimmed Half-Sheet Pan (18×13 inches)
The standard size for sheet pan cooking; rim prevents drips and supports air circulation around food.
Wire Cooling Rack (oven-safe)
Elevates protein above the pan surface so heat circulates underneath, producing crispier results.
Parchment Paper
Lines the pan to reduce sticking and simplify cleanup without affecting browning significantly.
Instant-Read Thermometer
Confirms protein has reached a safe internal temperature, removing guesswork from doneness.
Large Mixing Bowl
Used to toss vegetables and protein evenly in oil and seasoning before arranging on the pan.
Step-by-Step: Building a Sheet Pan Dinner That Actually Works
Follow these steps for any combination of protein and vegetables. Once the logic is clear, the formula applies to nearly any ingredient.
Preheat the oven properly
Set your oven to between 400°F and 450°F and allow at least 15-20 minutes for it to fully reach temperature. Place a rack in the center or upper-center position. If you have an oven thermometer, use it - an under-temperature oven is a primary cause of pale, soft vegetables instead of properly roasted ones.
Cut ingredients to appropriate sizes
Uniform size within each ingredient type is essential for even cooking. As a general rule: dense vegetables like carrots, beets, and potatoes should be cut to about ¾-inch pieces; tender vegetables like zucchini, bell peppers, and cherry tomatoes can be slightly larger since they cook faster. Protein pieces should be similarly sized if cut.
Dry and oil everything thoroughly
Pat protein completely dry with paper towels before seasoning - surface moisture inhibits browning. Toss all ingredients in a large bowl with enough oil to coat lightly but evenly. A thin, even film of oil on every surface is what conducts heat and enables caramelization. Season with salt, pepper, and any aromatics at this stage.
Arrange ingredients with space between them
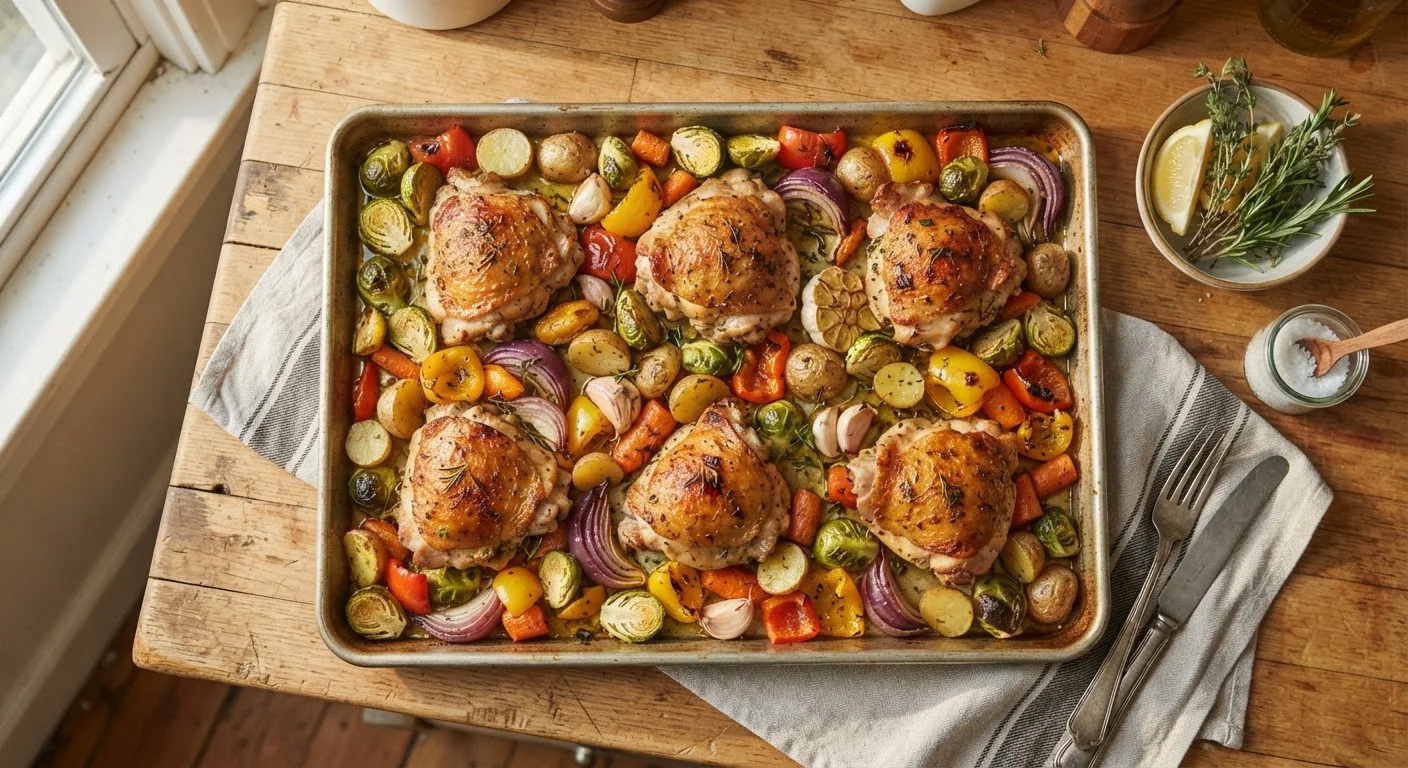
Spread each ingredient in a single layer with at least a half-inch of space between pieces. If items are touching or stacked, they will steam rather than roast. Use two sheet pans if necessary - this is the most common and most consequential mistake home cooks make with this method.
Stagger additions based on cook time
Start with the ingredients that take longest. Dense root vegetables may need 30-40 minutes; chicken thighs typically need 35-45 minutes at 425°F; tender vegetables like asparagus or cherry tomatoes may only need 12-18 minutes. Add faster-cooking ingredients partway through so everything finishes around the same time.
Flip halfway and check for doneness
About halfway through roasting, use a spatula or tongs to flip or stir vegetables. This exposes the underside to direct pan heat and promotes more even browning. For protein, use an instant-read thermometer to confirm safe internal temperatures: 165°F for poultry, 145°F for pork and whole cuts of beef (followed by a 3-minute rest).
Don't Skip the Thermometer for Protein
Visual cues alone are unreliable for determining whether poultry or pork has reached a safe internal temperature. Color and texture vary based on thickness, starting temperature, and oven variance. An instant-read thermometer is a low-cost tool that removes all guesswork - use one every time you roast protein.
Using Sheet Pan Dinners as a Meal Prep Strategy
One of the underappreciated strengths of sheet pan cooking is how naturally it scales into a weekly prep routine. Roasted vegetables and proteins hold well in the refrigerator for several days and can be repurposed across multiple meals - grain bowls, wraps, soups, or eggs at breakfast. If this approach appeals to you, it pairs directly with the principles covered in a practical meal prep framework.
Sheet pan cooking also lends itself to building a more balanced plate without rigid planning - roast a protein, a starchy vegetable, and a non-starchy vegetable together and you already have a nutritionally varied foundation. The oven does the heavy lifting while you attend to other things, and cleanup involves one pan rather than a sink full of equipment.
If you enjoy oven-based cooking but want to explore how different results emerge from different methods, it's worth comparing this dry-heat approach with braising, a slow moist-heat technique that works particularly well for tougher, less expensive cuts of meat.