

Key Takeaways
What Braising Actually Does to Meat
Braising is a combination-cooking method: it starts with dry heat (searing) and finishes in a covered pot with liquid at a low temperature over an extended period. The science behind it explains why it's so transformative.
Tough cuts are tough because they contain abundant collagen, the connective tissue that holds muscle fibers together. At temperatures between roughly 160°F and 180°F, sustained over hours, collagen breaks down into gelatin - a protein that gives braised dishes their luscious, coating texture. The long cook also allows muscle fibers to relax and absorb braising liquid, producing meat that pulls apart rather than dries out.
This is the opposite dynamic from lean proteins like chicken breast. As the piece on why chicken breast dries out explains, lean muscle loses moisture rapidly under heat. Collagen-rich cuts actually improve the longer they cook - within reason.
After searing, let the pan cool slightly before adding aromatics - this prevents them from scorching in the residual fat and gives you more control over the fond.
Searing generates very high surface temperatures. Garlic and onions added immediately can burn before softening, producing bitter notes that carry through the entire braise.
Braise a day ahead when possible: chilling overnight lets fat solidify on the surface for clean removal, and flavors intensify significantly by the next day.
Fat is easier and more complete to remove when solid rather than liquid. The resting period also allows glutamates and other flavor compounds to distribute evenly through the braising liquid.
The Best Cuts for Braising
The rule is straightforward: the more a muscle worked during the animal's life, the better it braises. Look for cuts with visible connective tissue, marbling, or bone.
- Beef: chuck roast, short ribs, brisket, oxtail, shank (osso buco)
- Pork: shoulder (Boston butt), country ribs, cheeks, hocks
- Lamb: shoulder, shanks, neck
- Poultry: whole legs, thighs, duck legs
Lean cuts - tenderloin, sirloin, chicken breast - are poor choices. They lack collagen and will become dry and stringy before any tenderizing benefit occurs. One of the genuine pleasures of braising is that the best candidates are also among the least expensive cuts at the butcher counter.
~25%
Collagen content in beef chuck
Heavily worked muscles like the chuck contain significantly higher connective tissue percentages than tender cuts, making them ideal candidates for low-and-slow moist cooking.
160-180°F
Temperature range for collagen conversion
Food science research shows collagen begins converting to gelatin at approximately 160°F, with conversion accelerating and completing over several hours of sustained heat.
2-4 hours
Typical oven braising time for beef
Depending on cut size and thickness, most beef braises reach ideal fork-tender texture between 2 and 4 hours at 300°F-325°F in a covered pot.
The Braising Process, Step by Step
The method follows a reliable sequence that applies across virtually any braise:
- Dry and season the meat. Pat the surface completely dry with paper towels. Moisture is the enemy of good searing. Season generously with salt (and pepper if desired) at least 30 minutes before cooking.
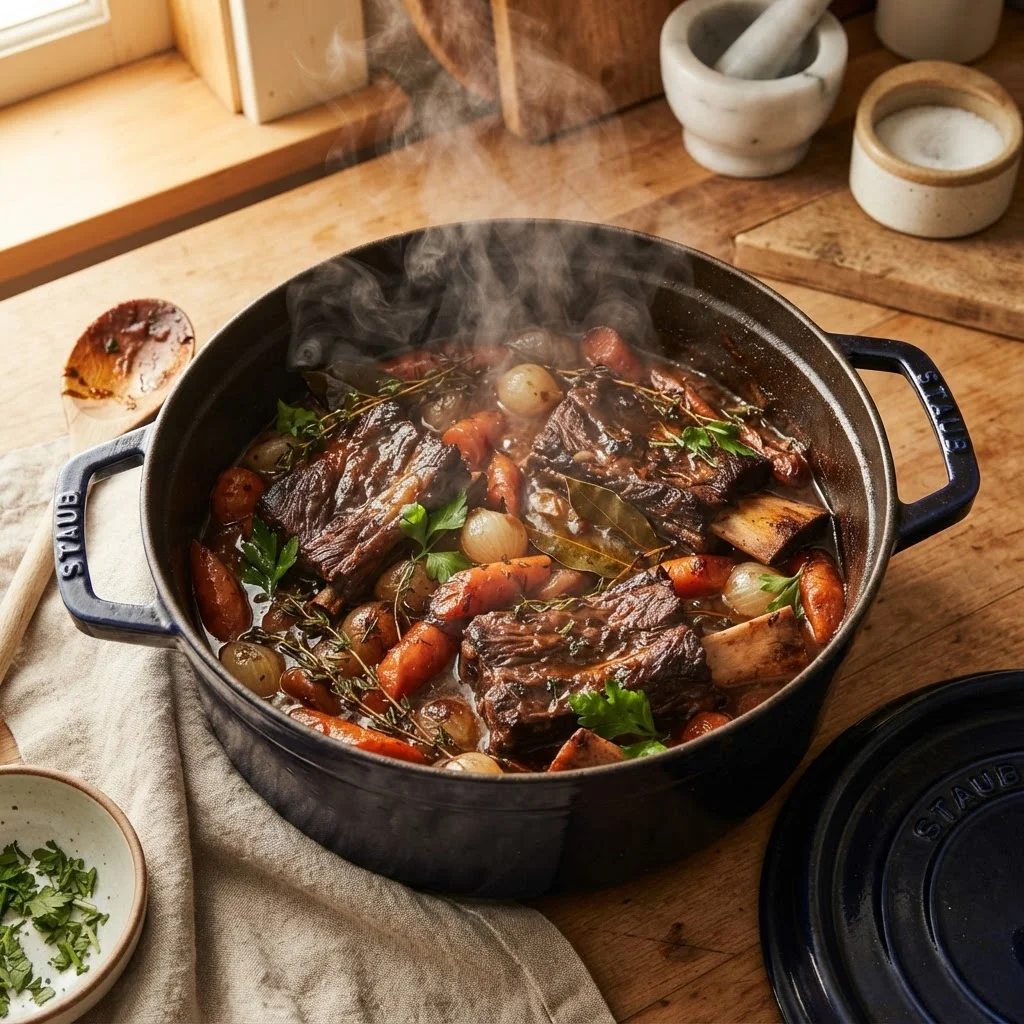
- Sear over high heat. Heat a heavy pot - a Dutch oven is ideal - with a neutral oil until shimmering. Sear the meat on all sides until deeply browned. This Maillard reaction creates hundreds of flavor compounds that define the finished dish. Do not rush or crowd the pan.
- Build aromatics in the same pot. Remove the meat and sauté onions, carrots, celery, garlic, or whatever your recipe calls for in the residual fat. See the guide on building flavor with aromatics for how these ingredients work together.
- Deglaze. Add wine, stock, or another liquid and scrape up the browned fond from the bottom of the pot. This step incorporates layers of flavor that would otherwise be lost. Deglazing is covered in broader context in the article on foundational cooking techniques.
- Add liquid to the right depth. Return the meat to the pot and add enough liquid to come one-third to halfway up the sides - never submerging it fully. Cover tightly.
- Cook low and slow. Transfer to an oven preheated to 300°F-325°F, or maintain a bare simmer on the stovetop. Cook until the meat is fork-tender, typically 2-4 hours depending on the cut and size.
- Finish the sauce. Remove the meat and reduce the braising liquid on the stovetop if a thicker sauce is desired. Skim visible fat, taste, and adjust seasoning.
Choosing Your Braising Liquid
The liquid does double duty: it generates the steam that keeps meat moist and becomes the sauce. Common choices include:
- Red wine
- Classic with beef and lamb. Its acidity tenderizes and its tannins add depth. Use a wine you'd drink - off-flavors concentrate during cooking.
- Stock
- Chicken, beef, or vegetable stock form a neutral, savory base that lets the meat's flavor lead.
- Beer
- Dark ales and stouts work particularly well with pork and short ribs, adding malty, bitter notes.
- Tomatoes
- Crushed or whole canned tomatoes contribute acidity and body. Common in Italian-style braises like osso buco.
- Coconut milk or other liquids
- Used in braising traditions across Southeast Asia and the Caribbean, lending richness and distinct character.
Water is also a valid option - especially when aromatics and the meat itself are flavorful enough - though stock generally produces a more complex result.
Common Braising Mistakes to Avoid
Even a forgiving method has its failure points:
Avoid Boiling - It Ruins the Braise
A hard boil is one of the most common braising errors. Aggressive bubbling causes muscle proteins to seize and tighten, producing meat that is tough and stringy rather than tender. You should see only occasional lazy bubbles breaking the surface. If you hear vigorous boiling, reduce heat immediately.
- Skipping the sear. Braised meat without searing is pale, flat-tasting, and misses the foundational layer of flavor that carries through the entire dish.
- Too much liquid. Submerging the meat produces boiled, waterlogged results rather than a concentrated, silky braise.
- Too high a temperature. Aggressive boiling toughens proteins and causes the meat to fall apart in the wrong way - ragged and dry rather than tender. A gentle simmer or 300°F-325°F oven is correct.
- Under-seasoning at the start. Salt early; the long cook requires a solid foundation of seasoning from the beginning.
- Opening the lid frequently. Each time you lift the lid you lose heat and steam. Check sparingly and only when necessary.
Applying Braising Beyond Beef
Once the process is understood, it transfers readily across proteins and even vegetables. Chicken thighs braise beautifully in white wine and olives in roughly 45-60 minutes. Duck legs develop rich, mahogany flavor in red wine or orange juice over 90 minutes. Pork shoulder becomes pulled-pork texture after 3-4 hours in a spiced liquid.
Vegetables can also braise effectively - fennel, endive, leeks, and artichokes respond well to partial submersion in butter, stock, and aromatics with a covered pan. The method concentrates their flavor while softening their texture in a way that roasting cannot match.
Braising is particularly well-suited to weekends and meal prep: the largely hands-off cooking time is an advantage, not a limitation. The finished dish typically improves overnight as flavors meld in the refrigerator, and the fat solidifies at the surface for easy skimming. For those whose weeknight cooking leans toward faster approaches, the sheet pan dinner method offers a useful counterpart - but when time allows, braising delivers results that quicker methods simply cannot replicate.
Learning to prep your ingredients efficiently before starting a braise also pays dividends. Sharp, consistent knife work - covered in detail in the guide on knife skills for everyday cooking - makes the prep stage faster and ensures aromatics cook evenly.