

Key Takeaways
Why Techniques Beat Memorizing Recipes
Most home cooks learn by following recipes step by step - which works, but only as far as the next recipe takes you. The real leap forward happens when you internalize why a step exists, not just what it says. When you understand the technique behind a step, you stop needing the recipe to hold your hand.
The five techniques below appear, in some form, across hundreds of recipes from virtually every cuisine. Learn each one well and you'll cook more confidently, improvise more freely, and rescue a dish when things go sideways. Before diving in, it's worth reading what to check before you start any recipe - preparation is what lets technique actually shine.
Deglazing
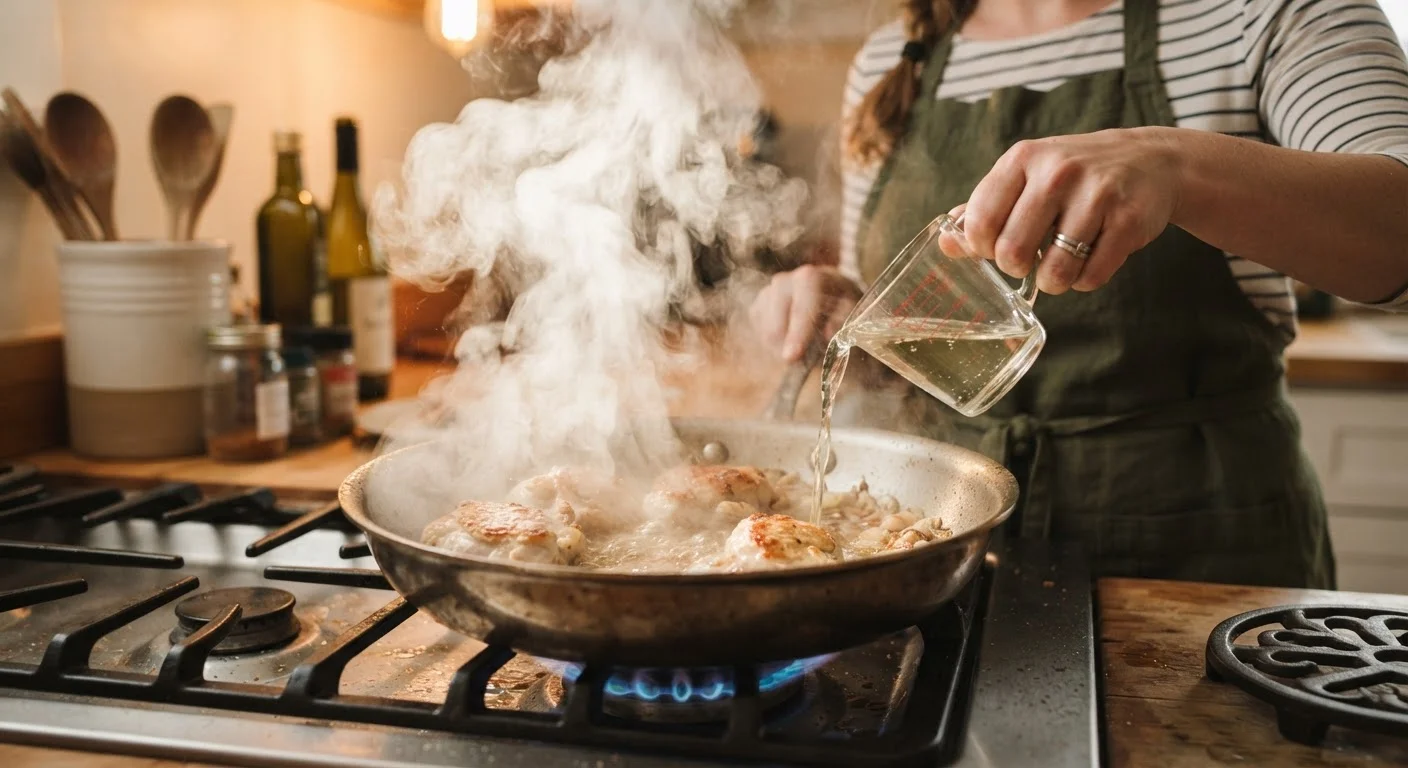
Deglazing is the process of adding liquid - wine, broth, water, or even citrus juice - to a hot pan to lift the browned bits (called fond) stuck to the bottom after searing meat or vegetables. Those caramelized fragments are concentrated flavor, and deglazing dissolves them into the liquid to form the base of a sauce or braise.
To do it correctly: remove your protein, keep the heat on medium-high, add your liquid, and use a wooden spoon or spatula to scrape the bottom as the liquid bubbles. Within 30-60 seconds, the fond releases completely. From here you can reduce the liquid, add cream or butter, or use it as a braise base. It applies equally to chicken thighs, pork chops, mushrooms, and caramelized shallots.
Those caramelized pan bits are concentrated flavor - deglazing puts them to work.
Emulsifying
Emulsification is what happens when two liquids that normally separate - typically fat and water - are forced into a stable, unified mixture with the help of an emulsifier. Egg yolk (in mayonnaise), mustard (in vinaigrette), and lecithin in cream all act as emulsifiers by coating fat droplets and suspending them evenly through the liquid.
For a basic vinaigrette: whisk mustard into vinegar first, then drizzle oil in slowly while whisking constantly. The result is creamy, cohesive, and clings to greens rather than pooling at the bottom of the bowl. The same principle governs hollandaise, pan sauces finished with cold butter, and aioli. Understanding emulsification also helps you understand why sauces break - and how to fix them by adding a small amount of warm liquid and whisking vigorously.
Emulsification is why a vinaigrette clings to salad instead of pooling at the bottom.
Rendering
Rendering means applying gentle, sustained heat to fatty cuts of meat - bacon, pancetta, duck breast, pork belly - to melt out the fat slowly. Unlike searing, rendering is a low-and-slow process: you typically start in a cold or warm pan and gradually raise the heat. Done right, you get crispy, golden meat and a pool of flavorful fat to cook with.
Rendered fat carries the flavor of whatever protein it came from, making it excellent for sautéing vegetables, frying eggs, or basting other cuts. It also produces the Maillard browning that makes bacon crackling and duck skin satisfying rather than chewy. The key is patience - rushing with high heat steams rather than renders, leaving fat soft and rubbery rather than crisp.
Start rendering in a cold pan - patience turns fatty cuts crisp, not chewy.
Reducing
Reduction is simply evaporating water from a liquid over heat to concentrate its flavor and change its consistency. A thin broth becomes a rich, glossy sauce. Wine loses its raw alcohol edge and gains depth. Cream tightens into something velvety.
There's no mystery to it: bring your liquid to a gentle boil or steady simmer, leave the pan uncovered, and wait. A sauce reduces by roughly half in 10-15 minutes depending on the pan's surface area and heat level. Wider pans reduce faster. The technique applies to stocks, wine sauces, tomato-based ragùs, balsamic glazes, and sweet fruit compotes alike. The one rule: season at the end, not the beginning, since reduction concentrates salt along with everything else.
Always season reduced sauces at the end - reduction concentrates salt as much as flavor.
Blooming Spices
Blooming means briefly cooking dried spices or aromatics in fat - butter, oil, or rendered animal fat - before adding other ingredients. Heat activates fat-soluble flavor compounds in spices that simply don't release in water, which is why cumin or smoked paprika added dry to a soup tastes flat compared to the same spice toasted in oil for 30 seconds first.
The technique is foundational in Indian, Mexican, Middle Eastern, and North African cooking, but it applies to any cuisine. Even a simple pasta sauce benefits from blooming garlic and red pepper flakes in olive oil before the tomatoes go in. You'll know it's working when the spices darken slightly and become deeply fragrant - usually 20 to 45 seconds. Watch carefully; burnt spices turn bitter fast. This connects closely to building flavor with aromatics, which covers how onions, garlic, and herbs layer into the base of a dish.
Fat unlocks flavor compounds in spices that water simply cannot reach.
Putting It All Together
These techniques are not isolated tricks - they overlap and reinforce each other. You might render bacon fat, then use it to bloom spices, deglaze the pan with wine, and reduce the result into a glossy sauce, finishing with an emulsified butter swirl. That's four of the five techniques in a single skillet, in under 20 minutes.
Understanding what salt, fat, acid, and heat each do in a recipe deepens how you apply all of the above - technique and elemental knowledge are two sides of the same coin. And the right pan matters too: choosing between cast iron and stainless steel affects how evenly you render, how well you sear, and how clean your fond develops for deglazing.
Practice One Technique at a Time
Rather than trying to master all five at once, build one into your regular cooking for a week. Deglaze every pan you sear in, or bloom your spices in oil every time you cook them. Repetition in a low-stakes context is how technique becomes instinct - and how weeknight cooking starts feeling effortless.