

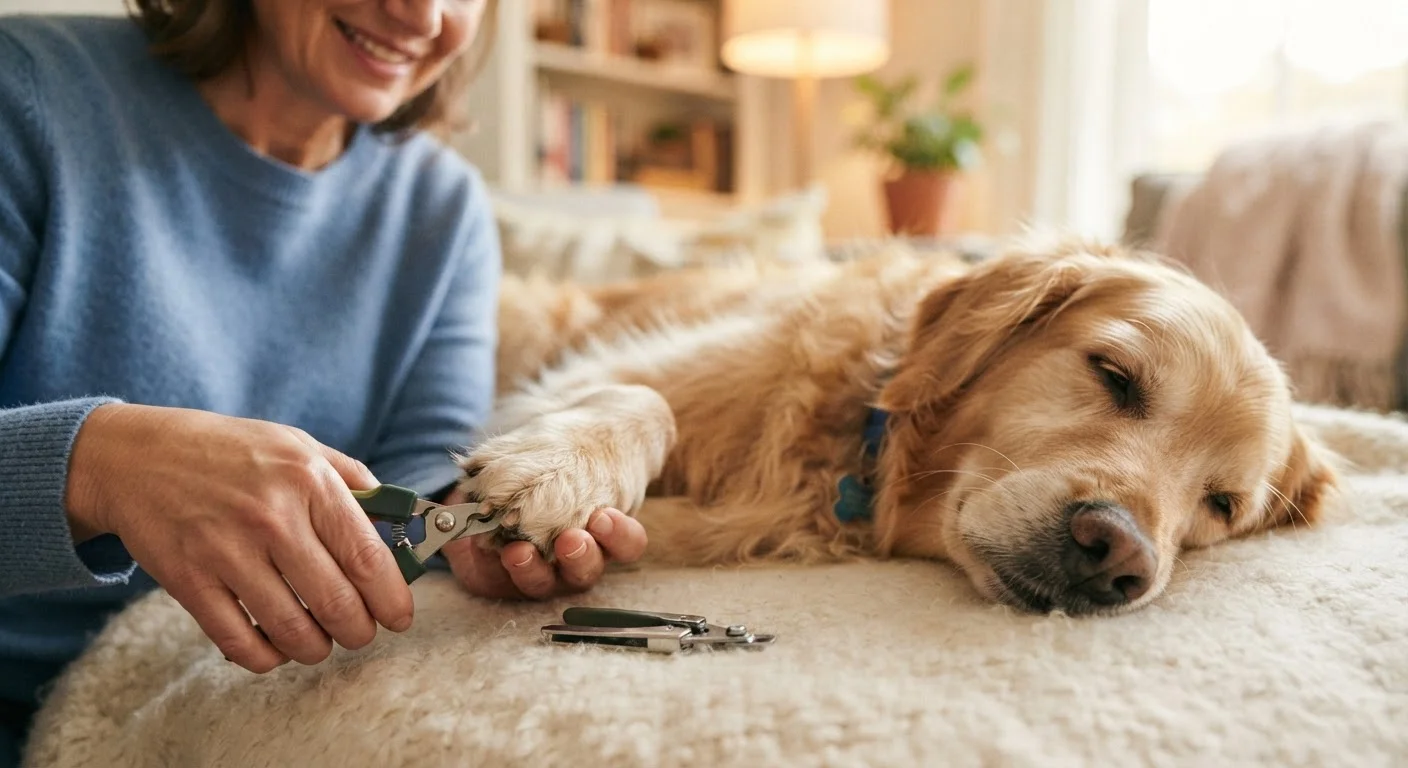
Key Takeaways
Why Nail Length Matters for Your Pet's Health
Overgrown nails are more than a cosmetic issue. When a dog's nails touch the ground with every step, they exert backward pressure on the toe joints - a biomechanical stress that, over time, can alter gait and contribute to joint discomfort. In cats, excessively long nails can curl and grow back into the paw pad, causing pain and infection. Regular trimming is a genuine component of long-term wellness, not just tidiness.
Nail care fits naturally into a broader grooming routine. If you're building habits from scratch with a new animal, our guide to bringing a pet home for the first time covers how to establish routines early. For a fuller picture of at-home maintenance, see daily grooming habits that keep your pet comfortable year-round.
What you will need
Tools You'll Need
Using the right equipment makes a measurable difference in both safety and your pet's comfort. Dull clippers crush rather than cut, which is painful and more likely to cause nail splitting. Replace your clippers annually or whenever they require noticeable force to close.
Nail clippers (dog or cat size)
The primary cutting tool - guillotine-style suits most small-to-medium dogs and cats; scissor-style works for thicker nails on larger dogs.
Styptic powder
Applied immediately if the quick is nicked, it stops bleeding quickly and reduces discomfort.
Nail file or grinder
Smooths sharp edges after clipping and can be used alone for pets that tolerate the vibration but resist clippers.
Towel or non-slip mat
Provides traction and security for the pet during the session, reducing sliding and anxiety.
High-value treats
Used for positive reinforcement at every stage - critical for building a calm association with nail trimming.
Step-by-Step: The Trimming Process
Follow the steps below in order - especially the desensitization phase, which many owners skip and later wish they hadn't. Rushing the process is the single most common reason pets develop lasting nail-trim anxiety.
Desensitize your pet to handling before any clipping
Begin days or even weeks before the first real trim. Handle your pet's paws daily - touching each toe, pressing gently on the pads, and mimicking the motion of holding a nail between your fingers. Pair every touch with a treat and calm praise. For cats, short sessions of 30-60 seconds are more effective than longer ones. This builds a positive association before the clippers even appear.
Choose the right time and setting
Trim nails when your pet is already calm - after exercise or a meal, not when they're energized and playful. Choose a quiet room with good natural or overhead light. Sit on the floor with a dog; place a cat on a stable, elevated surface at a comfortable working height. Avoid sessions when you're rushed or stressed, as pets read human tension easily.
Identify the quick before you cut
The quick is the living tissue - containing nerves and blood vessels - that runs partway down the nail. On light-colored nails it's visible as a pink core. On dark nails, look at the cut end after each small snip: when you see a dark, circular center appear in the cross-section, stop - you're close to the quick. Never try to cut the entire nail length in one pass.
Make small, controlled cuts
Position the clipper perpendicular to the nail (not at an angle that could splinter it). Squeeze the handles in one smooth, confident motion - hesitation can cause crushing rather than a clean cut. Take off only 1-2 mm at a time, advancing slowly toward the quick. For dogs with dewclaws (the nail on the inner leg), trim those separately - they grow faster and curl if neglected.
Respond calmly if you cut the quick
If you nick the quick, the nail will bleed and your pet may pull back sharply. Stay calm - reacting with alarm increases your pet's distress. Apply styptic powder or plain cornstarch directly to the tip of the nail and hold gentle pressure for 30-60 seconds. The bleeding almost always stops quickly. Comfort your pet with quiet praise, offer a treat, and end the session for the day if they're unsettled.
Reward and close the session positively
After each nail - or after each paw, depending on your pet's threshold - offer a treat and a moment of calm interaction. Never push through a full trim if your pet is showing clear stress signals such as panting, yawning, lip-licking, or attempting to escape. Ending on a positive note, even if only one paw was done, keeps the association constructive. You can always finish the remaining nails in a subsequent short session.
Build the Habit Early and Often
Puppies and kittens that experience frequent, gentle paw handling from an early age are significantly more tolerant of nail trims as adults. Even if no actual trimming is done, touching the paws daily during puppyhood or kittenhood builds lasting acceptance. It's one of the highest-return investments in long-term manageability.
When to Involve a Professional
At-home nail trimming works well for most pets once a routine is established, but it isn't the right fit for every situation. If your pet shows extreme stress responses - sustained aggression, inability to settle, or prolonged hiding afterward - forcing the issue at home can entrench fear. Understanding the difference between mild reluctance and genuine distress matters; our article on recognizing stress signals in pets can help you read your animal accurately.
A veterinarian or professional groomer can trim nails safely even for anxious animals, and some vets offer low-stress handling techniques or, in rare cases, mild sedation for pets with severe anxiety. If you're weighing DIY care against professional grooming more broadly, home grooming vs. professional grooming offers an honest comparison of both approaches.
Don't Use Human Nail Clippers
Human nail clippers are designed for flat nails and will crush or split a pet's rounded nail rather than cutting cleanly. Always use clippers designed specifically for dogs or cats and sized appropriately for the animal. Using the wrong tool increases the risk of a painful split that can extend toward the quick.
This article provides general pet care information and is not a substitute for guidance from a licensed veterinarian. If your pet has a health condition affecting mobility, nail structure, or behavior, consult your vet before beginning a home nail-care routine.