

Key Takeaways
Why Water Heater Maintenance Matters
Most homeowners don't think about their water heater until something goes wrong - a cold shower, a puddle on the utility room floor, or a spike in energy bills. But like a furnace or a roof, a water heater degrades gradually, and the decline is largely manageable with routine upkeep.
The main culprit is sediment. Dissolved minerals in tap water - primarily calcium and magnesium - precipitate out as water is heated and sink to the bottom of the tank. Over time, this layer insulates the burner (in gas units) or the heating elements (in electric units) from the water, forcing the system to work harder and longer to reach temperature. The result: higher energy use, slower hot water recovery, and a tank that wears out years ahead of schedule.
A well-maintained tank water heater typically lasts 8 to 12 years. Neglected units often fail closer to the 8-year mark - sometimes sooner in areas with hard water. Understanding the process also makes it easier to spot problems early; see our guide on reading your home's warning signs for broader context on catching issues before they escalate.
Build This Into Your Annual Routine
Pairing water heater maintenance with another seasonal task - like changing HVAC filters or checking smoke detectors - makes it easier to remember. See the Home's Annual Maintenance Calendar to slot it in alongside other yearly checkups.
What to Gather Before You Start
This task requires a couple of hours and a modest set of tools. Review the prerequisites and tool list before starting - an interrupted job halfway through draining a tank is frustrating and avoidable.
What you will need
Garden hose with drain adapter
Directs sediment-laden water safely out of the tank and away from the work area during flushing.
1-1/16" socket wrench
Loosens and removes the anode rod, which is typically torqued tightly into the tank.
Plumber's tape (Teflon tape)
Seals threaded connections when reinstalling the anode rod or drain valve to prevent leaks.
Flathead screwdriver
Adjusts the thermostat dial and helps pry off the access panel on electric models.
Bucket
Catches the first flush of sediment or water when the drain valve is initially opened.
If your unit is a tankless (on-demand) water heater, the flushing process is different and typically involves a submersible pump and descaling solution circulated through the heat exchanger. Consult the manufacturer's documentation for your specific model before proceeding.
Gas and Electrical Safety First
Before performing any maintenance on a gas water heater, turn the gas valve to the pilot position - never fully off unless instructed for a specific repair. For electric units, switch off the dedicated circuit breaker before touching any components. If you smell gas at any point, leave the area immediately and contact your gas utility. Do not attempt gas line repairs yourself.
Step-by-Step: Flushing and Inspecting Your Water Heater
Follow these steps in order. Skipping or reordering steps - especially around power shutoff and cooling - can create safety hazards or cause damage to heating elements.
Shut off energy supply and cold water inlet
For gas units, rotate the thermostat dial to Pilot. For electric units, flip the dedicated breaker off at your electrical panel. Next, close the cold water supply valve at the top of the tank - this is the pipe feeding into the unit, not the hot outlet. Skipping this step means cold water will keep refilling the tank as you drain it.
Allow the tank to cool, then connect a drain hose
Wait at least one hour after shutting off the energy supply. Attach a garden hose to the drain valve near the base of the tank, then route the other end to a floor drain, utility sink, or outdoors. Open a nearby hot water tap (like a bathtub faucet) to allow air into the system - without this, the tank won't drain properly due to the vacuum.
Open the drain valve and flush the tank
Slowly open the drain valve by turning it counterclockwise. Water will begin flowing out - initially it may appear rusty or cloudy with sediment. Allow it to run until it clears. For heavy sediment buildup, briefly reopen the cold water supply with the drain valve still open to stir remaining sediment loose and flush it out. Repeat until the outflow runs clear.
Inspect and test the pressure relief (T&P) valve
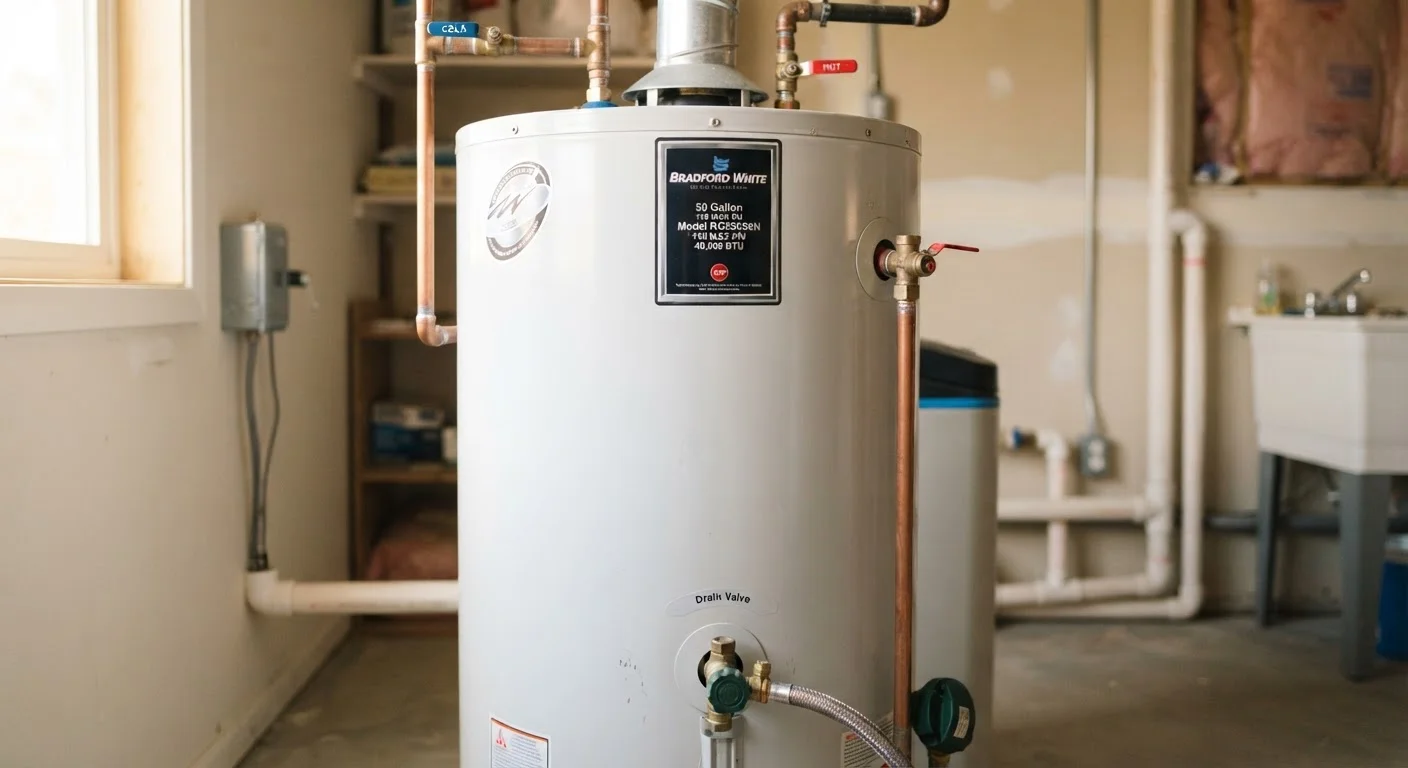
The temperature and pressure relief valve is a critical safety device, typically located on the upper side of the tank with a small lever and a discharge pipe running downward. Lift the lever briefly - water or steam should release, then stop when you let go. If nothing comes out or it leaks continuously afterward, the valve needs replacement. This is a job for a licensed plumber if you're unsure. Never cap or remove a T&P valve without replacing it.
Remove and inspect the anode rod
The anode rod - usually a magnesium or aluminum core wrapped around a steel wire - attracts corrosive minerals and sacrifices itself to protect the tank lining. It's typically located under a plastic cap at the top of the unit or under the hot water outlet. Use a 1-1/16" socket wrench to loosen it. If the rod is less than ½ inch thick, heavily coated in calcium deposits, or eaten down to the wire core, replace it. Wrap threads in plumber's tape before reinstalling the new or existing rod.
Refill the tank and restore power
Close the drain valve, disconnect the hose, and reopen the cold water supply valve. Keep the hot water tap in the house open until water flows steadily without sputtering - this confirms air has been purged from the system. Once the tank is full, restore power: turn the breaker back on for electric units, or return the gas dial to your preferred temperature setting (most households set 120°F to balance comfort and scalding risk). Allow 30-60 minutes for the water to fully reheat.
This maintenance sequence pairs naturally with other system checks. The HVAC maintenance guide covers a similar owner-versus-professional breakdown for your heating and cooling equipment.
Knowing When the Tank Has Reached the End
Maintenance extends a water heater's life, but it doesn't last forever. Here are the signs that replacement - not another flush - is the right call:
- Age past 10-12 years: Even a well-maintained tank faces increasing risk of internal corrosion and failure. Check the serial number: most manufacturers encode the manufacture date in the first few characters.
- Rusty or discolored hot water: If the rust appears only in hot water (run cold separately to compare), it typically indicates internal tank corrosion - a sign the liner has failed.
- Rumbling or popping sounds: Heavy sediment buildup causes these noises as trapped water boils beneath the layer. If flushing doesn't resolve it, the sediment may be hardened and bonded to the tank floor.
- Visible tank corrosion or leaks at the base: Surface rust on fittings is often manageable, but corrosion or weeping at the tank body itself indicates the tank wall has been compromised. Replacement is necessary.
- Consistently inconsistent hot water: If recovery times have lengthened noticeably even after maintenance, the heating elements or burner may be failing.
When shopping for a replacement, consider water heater type, tank size, and energy factor ratings appropriate for your household size and local utility costs. A licensed plumber can assess your specific situation and ensure the new unit is installed to code - permits are typically required for water heater replacement in most US jurisdictions. Verify requirements with your local building department before starting any replacement work.
For a broader seasonal lens on these kinds of inspections, the spring home inspection checklist and plumbing myths guide are useful companions to keep your whole system running reliably.