

Key Takeaways
Why Placement and Detector Type Both Matter
A smoke detector installed in the wrong location - or using the wrong sensing technology for your home's layout - can delay an alarm by critical minutes. Similarly, a CO detector mounted directly beside a gas stove may trigger nuisance alarms that train occupants to ignore it. Getting placement and technology right from the start is the foundation everything else builds on.
For homes with attached garages, fuel-burning appliances (furnaces, water heaters, fireplaces), or gas ranges, CO protection is especially critical. These sources can produce dangerous CO concentrations during malfunctions or improper ventilation. Our guide to reading your home's warning signs covers other odor and air-quality clues worth knowing alongside CO awareness.
Carbon Monoxide Is a Silent Emergency
Carbon monoxide (CO) is odorless and colorless - you cannot detect it without a working alarm. If your CO detector sounds, evacuate everyone immediately, leave the door open, and call 911 from outside. Do not re-enter until emergency responders confirm the space is safe.
If you're a first-time homeowner still building your maintenance foundation, this overview of home upkeep essentials offers helpful context on which systems deserve the most attention in your first years of ownership.
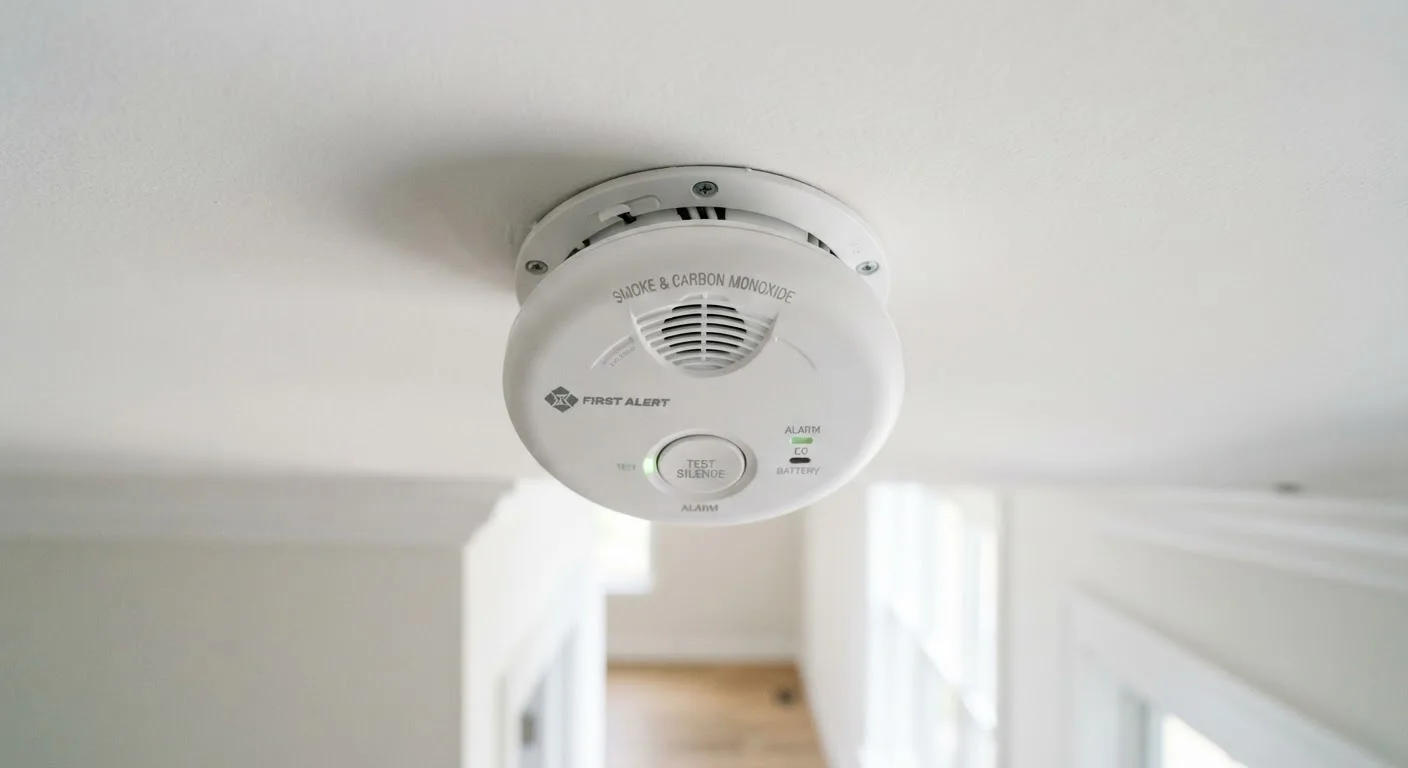
Combination smoke/CO detector
Detects both smoke and carbon monoxide from a single unit, simplifying installation and testing.
Drill and drill bits
Used to create pilot holes for mounting screws when installing detectors on ceilings or walls.
Screwdriver (Phillips and flathead)
Secures the mounting bracket to the wall or ceiling and opens the battery compartment.
Replacement batteries (9V or AA depending on model)
Powers battery-operated detectors and serves as backup in hardwired units.
Stud finder
Helps locate joists or studs for secure ceiling and wall mounting.
Permanent marker
Used to write the installation date on the detector for easy service-life tracking.
Installation, Testing, and Ongoing Maintenance
The steps below walk through the complete process - from mapping locations to establishing a long-term maintenance routine. Most installations are straightforward DIY tasks requiring basic tools. Hardwired detector replacement that involves touching existing wiring should be handled by a licensed electrician if you are not comfortable working with home electrical systems.
What you will need
Map your detector locations
Before purchasing or mounting anything, sketch a quick floor plan. Building codes generally follow National Fire Protection Association (NFPA) 72 guidelines, which call for:
- One smoke detector inside each bedroom
- One smoke detector outside each sleeping area (e.g., in the hallway)
- At least one smoke detector on every level, including the basement
- At least one CO detector on every level and within 10 feet of each sleeping area
Place CO detectors at knee-to-chest height on a wall, or on the ceiling - CO mixes roughly evenly with air, so either position works. Keep them at least 15 feet away from fuel-burning appliances like stoves and furnaces to reduce nuisance alarms. Check your local code before finalizing placement, as some jurisdictions have stricter requirements.
Choose the right detector type
Smoke detectors use one of two sensing technologies:
- Ionization detectors respond faster to fast-flaming fires with small particles.
- Photoelectric detectors respond faster to slow, smoldering fires that produce larger particles - the more common cause of fatal nighttime fires.
Many fire safety organizations recommend installing both types, or using a dual-sensor detector that combines both technologies. For CO, all residential detectors use electrochemical sensors and perform comparably - focus on checking that the unit carries a recognized testing laboratory mark (such as UL or ETL). Hardwired units with battery backup are preferable to battery-only models, especially for homes with existing wiring in place.
Mount the detectors
For ceiling-mounted units, install the mounting bracket first:
- Hold the bracket against the ceiling and mark the screw holes with a pencil.
- Drill pilot holes at the marked points, then secure the bracket with the provided screws. Use a hollow-wall anchor if you cannot hit a joist.
- Insert fresh batteries before attaching the detector to the bracket.
- Twist or click the detector body onto the mounted bracket until it locks.
For wall-mounted units, position the detector 4-12 inches from the ceiling. Avoid placing detectors in corners, near windows, or directly above air vents - airflow patterns can delay alarm response. Write the installation date in permanent marker on the back of the unit before mounting so you always know when replacement is due.
Test every detector after installation
Once all units are mounted, test each one before considering the job done:
- Press and hold the Test button for 3-5 seconds until the alarm sounds.
- If the alarm is faint, weak, or does not sound at all, replace the battery and retest.
- Walk to the farthest room from each detector while an assistant presses the test button to confirm the alarm is audible throughout that zone.
This is also a good time to test your CO detectors using the same test-button method - it confirms the electronics are functioning, though it does not simulate actual gas exposure. Some households use aerosol smoke test sprays sold for detector testing, but the button test is sufficient for routine checks.
Establish a monthly testing and annual battery schedule
Testing takes under a minute per detector. Set a recurring monthly reminder - the first of the month or the same day you pay a regular bill works well as a memory anchor. Press the test button on every detector; confirm each sounds clearly.
Replace batteries on a fixed annual schedule regardless of whether the low-battery chirp has appeared. Many homeowners use the biannual daylight saving time clock changes as reminders to swap batteries twice a year, which provides an extra margin of reliability. Always keep spare batteries in your home so a replacement is never deferred.
Know when to replace the entire unit
Detectors have a finite service life, after which internal sensors degrade and become unreliable:
- Smoke detectors: Replace after 10 years from the manufacture date printed on the back or side of the unit.
- Carbon monoxide detectors: Replace after 5-7 years, depending on the manufacturer's stated service life - check the label.
If a detector continues to chirp after fresh batteries are installed, it has likely reached end-of-life and must be replaced. Dispose of old units according to your municipality's electronics recycling guidelines. When replacing, take the opportunity to evaluate whether upgrading to interconnected or smart detectors - which send alerts to your phone - makes sense for your household.
Coordinate Detector Checks With Seasonal Maintenance
Pair your detector testing routine with other seasonal home tasks to make it easier to remember. For example, checking detectors at the same time as your furnace filter swap in fall keeps safety tasks grouped together. See our HVAC maintenance guide for a seasonal checklist that fits naturally alongside detector upkeep.
Never Ignore a Chirping Detector
A periodic chirp - typically one short beep every 30-60 seconds - signals a low battery or end-of-life condition, not a false alarm. Disabling or removing the battery to silence the chirp removes your protection. Replace the battery first; if chirping continues, the unit has reached the end of its service life and must be replaced.
Your water heater is another fuel-burning appliance that deserves routine attention alongside your detectors. Our water heater upkeep guide explains what to inspect and when to call a professional.