

Key Takeaways
What Composting Actually Does (And Why It's Worth It)
Composting is the controlled breakdown of organic material into a stable, nutrient-rich soil amendment called humus. When you layer kitchen scraps with yard waste and give microbes the right conditions, you get a finished product that improves soil structure, boosts drainage in clay soils, helps sandy soils retain moisture, and feeds plants slowly over time - no synthetic fertilizer required.
The payoff goes beyond your garden. Organic material diverted from the landfill decomposes anaerobically there, producing methane. Composting at home keeps that carbon cycling through your yard instead. If you're already growing food, see our beginner's vegetable garden guide for how finished compost fits into the broader setup.
What you will need
What to Add - and What to Keep Out
Think of compost ingredients in two categories:
- Greens (nitrogen-rich): Fruit and vegetable scraps, coffee grounds and paper filters, tea bags (remove staples), fresh grass clippings, and plant trimmings.
- Browns (carbon-rich): Dried leaves, cardboard torn into small pieces, paper bags, newspaper, straw, and wood chips.
A rough ratio of 2-3 parts browns to 1 part greens by volume keeps the pile active without turning slimy or smelly. If your pile smells like ammonia, it needs more browns. If it looks bone dry and inactive, add greens and a splash of water.
Never Add These to Your Compost
Meat, fish, bones, dairy products, and cooking oils can attract rodents, create foul odors, and slow decomposition. Also avoid pet waste, diseased plants, and anything treated with persistent herbicides - these can harm your garden rather than help it. Stick to raw plant-based scraps and yard trimmings for a trouble-free pile.
For inspiration on the kitchen-scrap side, consider what you're already producing when cooking everyday meals - vegetable peels, onion skins, and fruit cores are ideal additions.
Setting Up and Running Your Pile
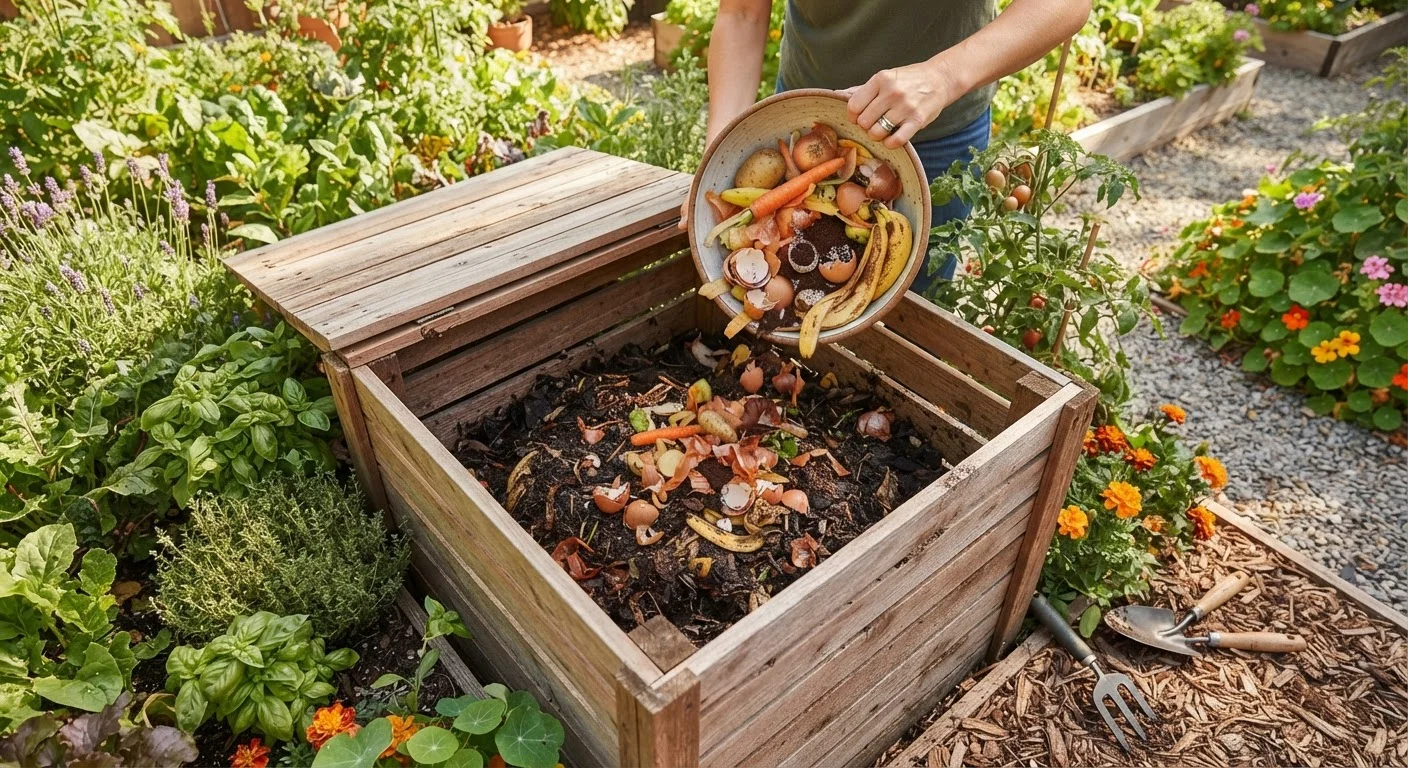
You don't need an expensive bin. A simple three-sided wood pallet structure, a chicken-wire cylinder, or a purchased plastic tumbler all work. Choose a spot with partial shade, good drainage, and reasonable access - you'll visit it often.
Choose and position your bin or pile
Select a level spot at least 3 feet in diameter. Keep it close enough to the kitchen for convenience, but away from wooden fences or structures that prolonged moisture can damage. Partial shade helps the pile retain moisture in hot summers.
Start with a brown base layer
Lay down 3-4 inches of coarse browns - wood chips, torn cardboard, or dry leaves. This creates airflow at the bottom and sets up proper drainage from the start.
Alternate green and brown layers
Add kitchen scraps and yard greens in thin layers (2-3 inches), then cover each with a thicker layer of browns (4-6 inches). This sandwich approach prevents matting and odor.
Maintain moisture and aeration
The pile should feel like a damp sponge - moist throughout, but not dripping. In dry climates, you may need to water it occasionally. Use a garden fork or dedicated compost aerator to turn the pile weekly or at minimum every two weeks.
Harvest and apply finished compost
Finished compost is dark brown, crumbly, and smells like forest floor - not decomposing food. Stop adding new material to one section of the pile and let it cure for 2-4 weeks before use. Apply 1-2 inches to garden beds and work it lightly into the top few inches of soil.
Once active, finished compost typically takes 2-6 months depending on pile size, turning frequency, and your climate. Cool northern winters slow things down; southern gardeners can often compost year-round. Insulating the pile with extra browns helps it stay active into fall.
When you're ready to use your finished compost, our article on soil amendments every American gardener should understand explains exactly how compost stacks up against other options and when each makes sense.
Troubleshooting Common Problems
Even a well-managed pile runs into snags. Here's what the symptoms usually mean:
- Bad odor (rotten egg or garbage smell)
- The pile is too wet or has too many greens. Turn it thoroughly, add a generous layer of browns, and check drainage underneath.
- No activity / pile not heating up
- It's likely too dry, too small, or lacking nitrogen. Aim for a pile at least 3 feet in each dimension, dampen it to the consistency of a wrung-out sponge, and mix in fresh green material.
- Pests or animals getting in
- This almost always means meat, cooked food, or dairy has been added - or the bin has gaps. Switch to a lidded tumbler or hardware cloth lining, and stick to plant-based scraps only.
- Pile looks unchanged after weeks
- Turn it. Microbial activity needs oxygen. A weekly turn during warm months can cut decomposition time dramatically.
Many compost frustrations trace back to common gardening misconceptions - our piece on gardening myths that lead beginners astray addresses a few compost-related ones worth reading.