

Key Takeaways
Why Documentation Protects Your Security Deposit
Security deposit disputes are among the most common conflicts between renters and landlords in the United States. Without a clear record of the unit's pre-existing condition, a renter has little to stand on when a landlord claims damage occurred during the tenancy. A landlord without documentation faces the same problem in reverse - which is why thorough move-in inspection records benefit both parties.
The core principle is simple: document what you found, confirm it in writing, and preserve that record until your deposit is returned. This process costs nothing but time and provides substantial financial protection. Renters who approach move-in day with a camera and a checklist are far better positioned to recover their full deposit than those who don't.
If you haven't yet signed a lease, ask these key questions during the showing to understand landlord expectations on documentation and deposits before you commit.
What you will need
Tools and Materials You'll Need
The good news is that professional-grade documentation requires no special equipment. A smartphone, a structured checklist, and a reliable place to store files are the essentials. The tools below cover everything from a basic walkthrough to a thorough, court-ready record.
Smartphone with Camera
Captures timestamped photos and video of every room, surface, and fixture.
Move-In Inspection Checklist
A room-by-room written form for logging the condition of walls, floors, appliances, and fixtures.
Cloud Storage or Email Account
Stores and timestamps your photo and video documentation so it is retrievable years later.
Tape Measure
Useful for noting dimensions of existing damage for accurate written descriptions.
Flashlight or Lamp
Illuminates dark corners, closets, and under-sink areas that natural light misses.
Email Is Your Paper Trail
After completing your move-in walkthrough, email your completed checklist and photo folder link directly to your landlord. The email timestamp and any reply serve as independent proof that documentation was submitted promptly. Save that thread for the entire duration of your tenancy.
Step-by-Step: How to Document Your Unit
Security Deposit Laws Vary by State
Each state sets its own rules on how long a landlord has to return your deposit and what deductions are permissible. Before move-in, look up your state's specific tenant protection statutes or consult a local tenant advocacy organization. General guidance here does not constitute legal advice.
Request or Prepare a Written Inspection Checklist
Ask your landlord for their standard move-in inspection form before your walkthrough date. If none is provided, create your own using a room-by-room format that covers walls, ceilings, floors, windows, doors, appliances, plumbing fixtures, and any included furnishings. Many state tenant rights websites offer free downloadable templates.
Having a structured form ensures you don't miss any area under the time pressure of move-in day.
Walk Through the Unit Before Moving Anything In
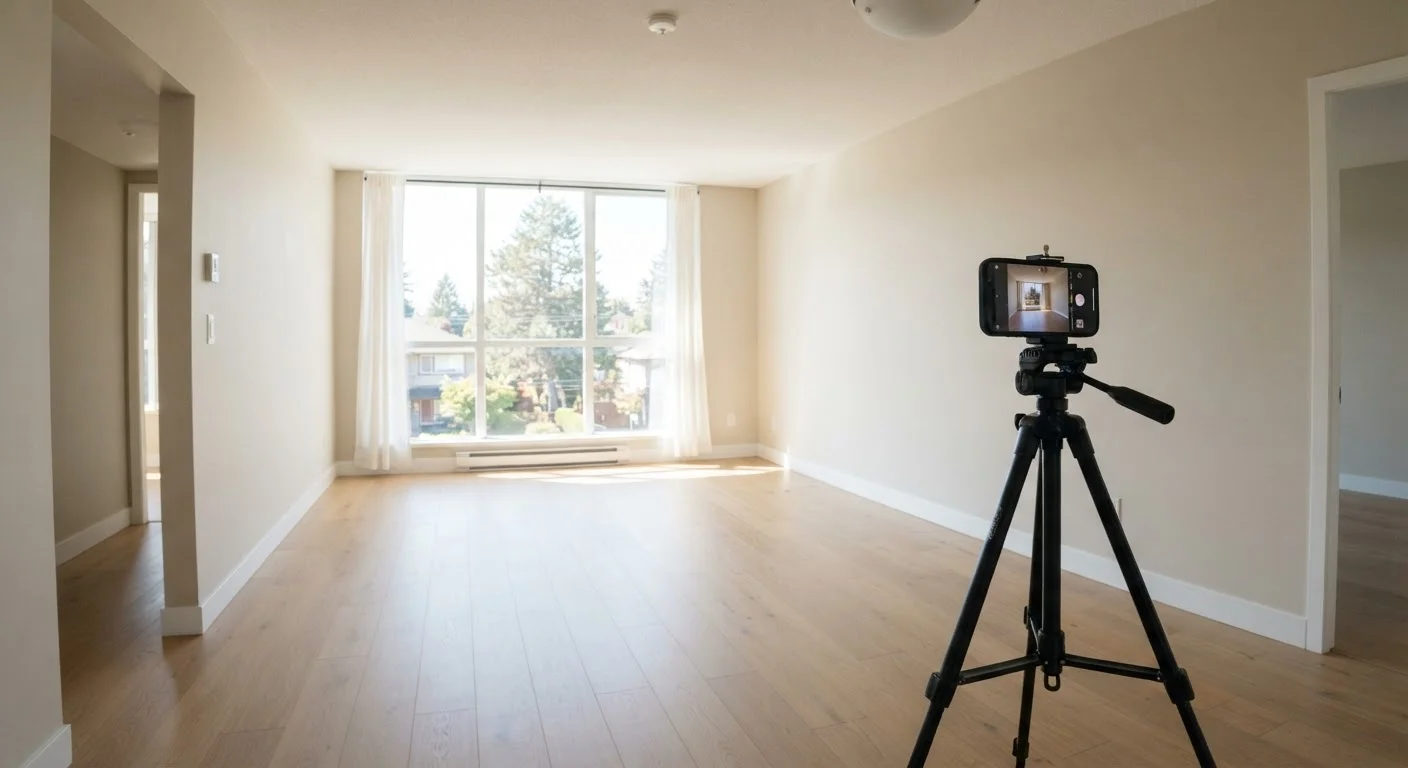
Conduct your inspection while the unit is completely empty. This is critical: furniture and boxes will conceal damage and make thorough documentation impossible. Schedule your walkthrough on a different day from your furniture delivery if necessary.
Bring a second person - a friend, family member, or witness - whose presence can corroborate your account if a dispute arises later.
Photograph and Video Every Room Systematically
Start at the entrance and move clockwise through each room. For each space, capture:
- Wide establishing shots showing the full room
- Close-ups of any existing scuffs, stains, chips, or damage
- All appliances (open the oven, dishwasher, and refrigerator)
- Inside closets, cabinets, and pantries
- All windows, screens, and locks
- Bathroom fixtures, grout condition, and under-sink areas
Record a continuous walkthrough video as well - it establishes context and sequence that still photos alone cannot provide. Ensure your device's date and time settings are accurate so all metadata is correctly stamped.
Complete the Written Checklist in Detail
For each item on your checklist, use specific descriptive language rather than vague terms. Instead of "wall damaged," write "3-inch scuff mark on south wall of bedroom, approximately 4 feet from floor." The more precise your description, the harder it is to dispute.
Note the working condition of every appliance, light switch, outlet, window latch, and door lock. If something is broken or missing at move-in, it cannot be charged to you at move-out - but only if it's documented now.
Submit Documentation to Your Landlord and Keep Copies
Request that your landlord sign and date the completed checklist, acknowledging the unit's condition at move-in. Provide them a copy and retain a signed original for yourself. If your landlord is unavailable to co-sign in person, email the checklist and photo archive to them, requesting written confirmation of receipt.
Store your copies somewhere reliable for the entire duration of your tenancy - not just move-out month. Disputes occasionally arise mid-lease over pre-existing damage.
Repeat the Full Process at Move-Out
When your tenancy ends, conduct an identical walkthrough using the same checklist format and the same room-by-room photo and video method. Ideally, complete this inspection with your landlord present so both parties can agree in real time on the unit's condition.
Compare your move-out photos directly against your move-in photos. Any differences should be categorized as either normal wear and tear - which landlords generally cannot deduct for - or actual damage caused during the tenancy. Know the distinction: faded paint and minor carpet wear are typically considered normal; large stains, broken fixtures, and holes in walls typically are not.
For a fuller picture of your rights and responsibilities throughout the rental cycle, see The American Renter's Complete Roadmap for comprehensive guidance from application through move-out.
Handling Disputes and What Comes Next
If your landlord withholds part or all of your security deposit and you believe the deductions are unjustified, your documentation package - signed checklist, timestamped photos, and email records - is what you'll present to contest the decision. Most states require landlords to provide an itemized list of deductions within a set number of days after move-out; if they miss that deadline, they may forfeit the right to make deductions at all.
For smaller amounts, small claims court is a realistic and accessible option that typically doesn't require an attorney. For larger sums or more complex situations, a local tenant rights organization or housing attorney can help you assess your position.
If you're renting with pets, thorough documentation is especially important - pet-related damage claims are among the most disputed. See our guide on renting with pets for guidance on deposits and lease terms specific to pet owners.
This article provides general informational guidance on rental documentation practices and does not constitute legal advice. Tenant rights and deposit laws vary by state and locality. Consult a licensed attorney or local tenant advocacy organization for advice specific to your situation.