

Real Estate

Before You Sign: A Pre-Closing Walkthrough Checklist

Share
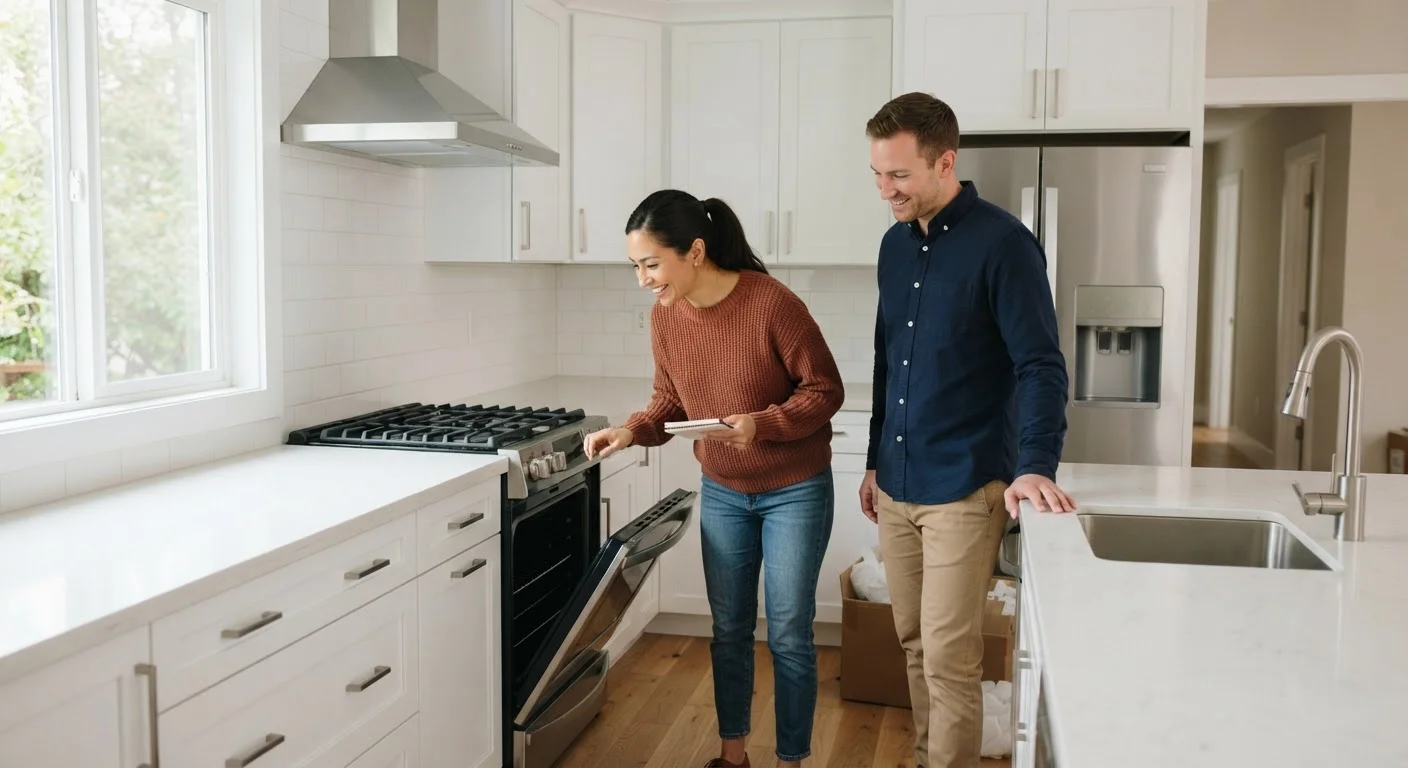
Buyers conducting a pre-closing walkthrough inspection in an empty residential home

Key Takeaways

The pre-closing walkthrough is typically conducted 24–48 hours before settlement.
Its purpose is to verify the property's condition matches what you agreed to buy.
Confirm all negotiated repairs have been completed before you sign.
Check every system — HVAC, plumbing, electrical — not just cosmetic finishes.
Document any issues with timestamped photos and notify your agent immediately.
You have the right to delay closing if significant unresolved problems are discovered.
30–90 min

Summary

28 items · 30–90 minutes on-site

Why the Final Walkthrough Matters

The pre-closing walkthrough is not a second home inspection — it's a targeted verification visit. You're confirming that the property is in the same condition as when you made your offer, that all agreed-upon repairs have been completed, and that nothing has been damaged or removed since your inspection. Skipping it or rushing through it can leave you owning problems you never agreed to accept.

Most real estate contracts entitle buyers to at least one walkthrough, typically scheduled 24 to 48 hours before closing. Bring a copy of your home inspection report, your purchase contract, and any repair addenda. If the sellers agreed to fix the HVAC or replace a broken window, you need documentation to verify that work was done — not just their word.

For a broader view of where this step fits in the homebuying timeline, see the complete homebuying process guide. And if you're still compiling questions to ask your agent or the seller, the questions to ask at every stage resource can help you walk in prepared.

Don't Sign Until Issues Are Resolved

If the walkthrough reveals significant unresolved problems — incomplete repairs, damaged systems, or missing contracted items — you have legal standing to pause or delay closing. Notify your real estate agent in writing immediately. Closing completes the transfer of ownership; once you sign, your leverage to compel the seller to fix anything diminishes sharply. Consult your agent and, if necessary, a real estate attorney before proceeding.

What to Bring and How to Prepare

Arrive prepared to be methodical. A rushed walkthrough in under 15 minutes will miss things that cost thousands to fix later. Budget at least 30 minutes for a small property and up to 90 minutes for a larger home with multiple systems to test.

Required

Home Inspection Report

Use as a reference document to confirm previously noted issues have been repaired or remain unchanged.

Required

Purchase Contract & Repair Addendum

Verify that every seller-agreed repair is accounted for and that all contractual inclusions remain in the property.

Required

Smartphone with Camera

Capture timestamped photos of any damage, missing items, or incomplete repairs discovered during the walkthrough.

Optional

Outlet Tester (Plug-In)

Quickly verify that electrical outlets are wired correctly and that GFCI outlets function as intended.

Optional

Flashlight or Headlamp

Illuminate dark areas such as attic hatches, crawl spaces, and interior cabinets for a thorough inspection.

Required

Notepad or Checklist App

Record observations room by room so nothing is forgotten when you follow up with your agent.

Walk every room in a consistent order — top floor to bottom, or room by room — so nothing gets overlooked. Run every faucet, test every light switch, open every window, and operate every appliance included in the sale. It sounds tedious; it's necessary.

Watch for Items Removed After Your Offer

Sellers occasionally remove light fixtures, built-in shelving, appliances, or landscaping plants that were assumed to convey with the sale. If something is missing that you expected to be there, check your purchase contract immediately. Unless an item was explicitly excluded in writing, it may be required to remain with the property. Document the absence with photos and escalate to your agent before closing.

The Pre-Closing Walkthrough Checklist

Work through the checklist groups below systematically. Mark each item as you go, and photograph anything that looks off. If you identify a problem, contact your real estate agent immediately — before signing any closing documents.

Exterior & Structure

Walk the full perimeter and check for new cracks in the foundation, siding damage, or evidence of pest activity. Must
Inspect the roof from the ground for missing or shifted shingles, especially if there has been weather since your inspection. Must
Test all exterior doors and locks to confirm they open, close, and latch properly. Must
Check gutters, downspouts, and grading around the foundation for pooling water or blockages. Should
Verify that outdoor fixtures, fencing, and any included outbuildings are present and undamaged. Should

Interior & Finishes

Examine walls, ceilings, and floors in every room for new stains, cracks, or damage not present at inspection. Must
Open and close every interior door to confirm hinges, handles, and latches work correctly. Must
Test every window: open, close, lock, and check for broken seals (fogging between panes indicates a failed seal). Must
Confirm that all window treatments, fixtures, and items listed in the sale contract as inclusions are still in place. Must
Inspect basement and crawl space for signs of new water intrusion, efflorescence (white mineral deposits on concrete), or mold. Should

Appliances & Kitchen

Run every included appliance through at least one full cycle: dishwasher, oven, range burners, refrigerator, microwave. Must
Turn on the garbage disposal and kitchen exhaust fan to confirm both operate without unusual noise. Should
Check under the kitchen sink for new leaks or water damage to the cabinet interior. Must

Plumbing & Water

Run all faucets — including bathtubs and showers — checking for adequate water pressure and proper hot water delivery. Must
Flush every toilet and confirm it fills, flushes, and seats correctly. Must
Inspect under sinks, around the water heater, and near the washing machine hookup for leaks or corrosion. Must
Locate the main water shut-off valve and confirm it is accessible and functioning. Should

Electrical & HVAC

Test every light switch and electrical outlet, including GFCI outlets in bathrooms, kitchen, and garage. Must
Set the thermostat to heating and cooling modes and verify the system responds and produces conditioned air. Must
Inspect the electrical panel for any new labeling issues, tripped breakers, or visible signs of tampering. Should
Confirm smoke detectors and carbon monoxide detectors are present and test as operational. Must

Agreed Repairs & Seller Obligations

Cross-reference your repair addendum line by line and verify each agreed fix has been completed. Must
Request receipts or permits for any repairs that required licensed contractors or municipal permits. Must
Confirm that no fixtures, appliances, or features included in the purchase price have been removed by the sellers. Must
Verify the property has been left in broom-clean condition (or whatever standard your contract specifies). Should
Confirm all keys, garage door openers, gate codes, and manuals will be transferred at closing. Nice to have

If you're a renter evaluating a rental property rather than a home purchase, the process differs significantly. The questions to ask a landlord during a showing guide covers the renter-specific equivalent.

Real Estate Editorial Team is the collective byline for our editorial team and contributor network. Articles published under this byline or an editorial pen name are researched, written, and reviewed according to our editorial standards for clarity, consistency, and independence before publication.

View all articles by Real Estate Editorial Team →
Disclaimer: The content on this site is for informational purposes only and is not a substitute for professional advice. Always consult a qualified professional for guidance specific to your situation.